Tips for Configuring a Quarto Website

Web
Author

ziyue li

Published

November 24, 2022

Tip

Explore the GitHub Repo for this website to see how it’s set up:

It took me some time to migrate to Quarto. Here are some the tips that might be helpful if you are thinking about doing the same.

1 Different Sidebars for Different Contents

On this website, you will see multiple sections: Posts, TIL, Books … Many of them have their own sidebars. For example, see one of the posts in TIL. On the left-hand side is the sidebar to jump to other posts quickly.

This is easy to set up by simply having multiple sidebars in _quarto.yml. However, there seems to be a bug when you only have one sidebar configured. That one sidebar will show up across your website, even for pages unrelated to that sidebar.

As of this writing, an easy way to solve this is to make another empty sidebar:

sidebar:
  - id: til
    title: TIL
    contents:
      - section: '2022'
        contents:
        - text: Nbdev_ignore
          href: TIL/2022/2022-11-23-aws-private_subnet_setup.ipynb
        - text: Whisper2Subtitles
          href: TIL/2022/2022-11-16-fastai-store_attr_infinite_recursion.ipynb
        - text: DreamBooth
          href: TIL/2022/2022-11-15-fastai-show_training_loop.ipynb
  - id: empty sidebar

2 Enable Line Numbers in Code Blocks

Some useful settings for code blocks in _quarto.yml:

format:
  html:
    code-line-numbers: "1"
    code-block-bg: true
    code-block-border-left: true
    code-copy: true
    code-fold: false

3 Add A Comment Section that Supports Latex

Giscus is a comments system powered by GitHub Discussions. It supports Latex, so that visitors can type math equations in the comment section.

Make sure you configure the repository and the Discussion Category on Giscus. This will generate the script code. We don’t need to copy that code, but we do need to note the data-repo-id, and data-category-id.

To enable it for a page, include the following in the YAML front matter:

comments:
  giscus:
    repo: <GitHub Repo for Your Quarto Website>
    repo-id: <Your data-repo-id>
    category: <The Discussion Category>
    category-id: <Your data-category-id>
    mapping: "title"
    reactions-enabled: true
    loading: lazy
    input-position: "top"
    theme: "preferred_color_scheme"

4 Add RSS Feed

  1. Add feed: true in the listing page Include a feed for your listing by including the feed option in your listing page:

    listing:
      contents: posts
      feed: true

    An RSS file will automatically be generated using the name of the the file in the same location as the listing page. For example, index.qmd will produce a feed at index.xml.

  2. Include the path to the xml file

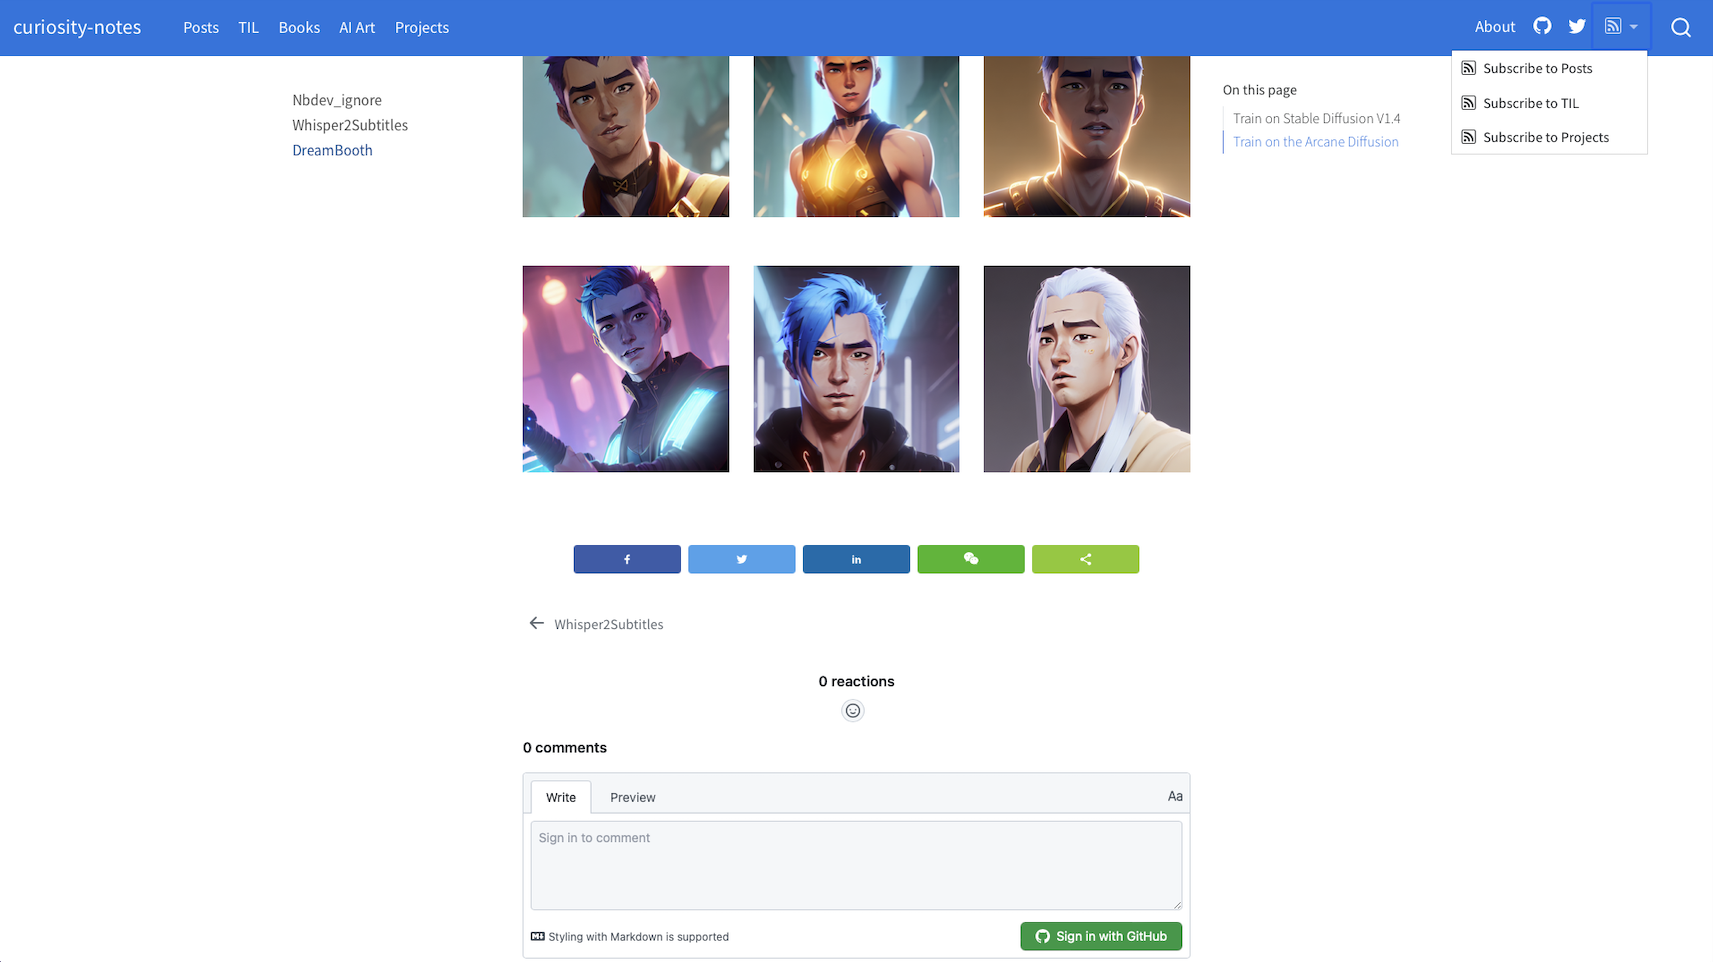
    We need to explicitly include links to these xml files. On this website, I created 3 RSS feeds: Posts, TIL and Projects. I included them in _quarto.yml under a menu on the right side of the navigation bar:

    website:
      navbar:
        right:
          - icon: rss
            menu:
            - text: Subscribe to Posts
                icon: rss
                href: https://feynlee.github.io/curiosity-notes/index.xml
                aria-label: Posts RSS
            - text: Subscribe to TIL
                icon: rss
                href: https://feynlee.github.io/curiosity-notes/TIL.xml
                aria-label: TIL RSS
            - text: Subscribe to Projects
                icon: rss
                href: https://feynlee.github.io/curiosity-notes/projects.xml
                aria-label: Projects RSS

5 Add Social Share Buttons

There’s already an option to add social share buttons through the Quarto extension quarto-social-share. However, I’d like to use sharethis, and I want to make them appear above the comment section, immediately after each post.

After you configured the share buttons on sharethis, it will generate a header code and buttons code.

5.1 Header Code

For the header code, we can include it in the header of the website, by adding the following in _quarto.yml:

format:
  html:
    header-includes: <script type="text/javascript" src="https://platform-api.sharethis.com/js/sharethis.js#property=**************&product=inline-share-buttons&source=platform" async="async"></script>

5.2 Buttons Code

For the buttons code, one could’ve included it at the bottom of each post manually, so that the share buttons appear there. However, I’d like to do this more efficiently, so I created an extension: code-insertion, which can insert any markdown/html code before and/or after a post.

Here’s what you need to do to enable this:

  • Install Extension

    quarto add feynlee/code-insertion

    This will install the extension under the _extensions subdirectory. If you’re using version control, you will want to check in this directory for your Quarto website.

  • Create a Markdown file to store the buttons code

    Create a markdown file (html also works) _sharebuttons.md:

    <div class="sharethis-inline-share-buttons pt-5"></div>

    The pt-5 is a Bootstrap class to make sure there’s enough space between the post and the share buttons.

    Make sure to start the file name with an underscore, so that Quarto ignores it when generating htmls.

  • Enable the filter in _metadata.yml for all posts

    In the YAML front matter of a post, enable the code-insertion filter, and add insert-before-post and/or insert-after-post parameters that point to a markdown file with sections you want to insert before and/or after the post.

    Create a _metadata.yml file under the folder that contains all of your posts. Any settings here will be shared by all posts. Enable the code-insertion filter:

    filters:
      - code-insertion
    insert-after-post: _sharebuttons.md

    Note that you should put the path to your _sharebuttons.md file for insert-after-post. This will insert that code as the last block in your post, which is above the comment section.

6 Add An Annotation Tool

You can enable hypothes on your website so that visitors can highlight and annotate your posts.

comments:
  hypothesis:
    theme: clean

This is enabled for my website. You can see the Hypothesis UI at the far right of the page. You can also drag cursor over texts to make your own highlights and annotations on this page.

7 Enable Anchor Sections

Hover over a section title to see an anchor link. An anchor link makes it possible to share and reference the exact position of the specified section. Enable/disable this behavior with:

format:
  html:
    anchor-sections: true

Anchor links are also automatically added to figures and tables that have a cross reference defined.

8 A Custom Listing Page

The Books page on this website is created with a custom listings page. With EJS Template, one can create a very customized listings page to suit one’s needs.

Sorting, filtering and pagination can also be enabled for your listings page with very little effort.